Adding HTML Snippets
While creating emails and pages is mainly done through the designer -which provides a set of components to facilitate the task- sometimes you want to achieve greater granularity. To overcome this limitation, Prisma Campaigns allows adding reusable HTML code blocks to your designs.
This feature enables the inclusion of specific HTML code, CSS styles, layout markup, and even JavaScript code, such as integrating with Google Analytics. As a result, your designs can be enriched as you expand the platform’s design capabilities.
Creating a New HTML Snippet
-
To create a new HTML snippet, go to the HTML Snippets section within Settings and click on New HTML Snippet.

-
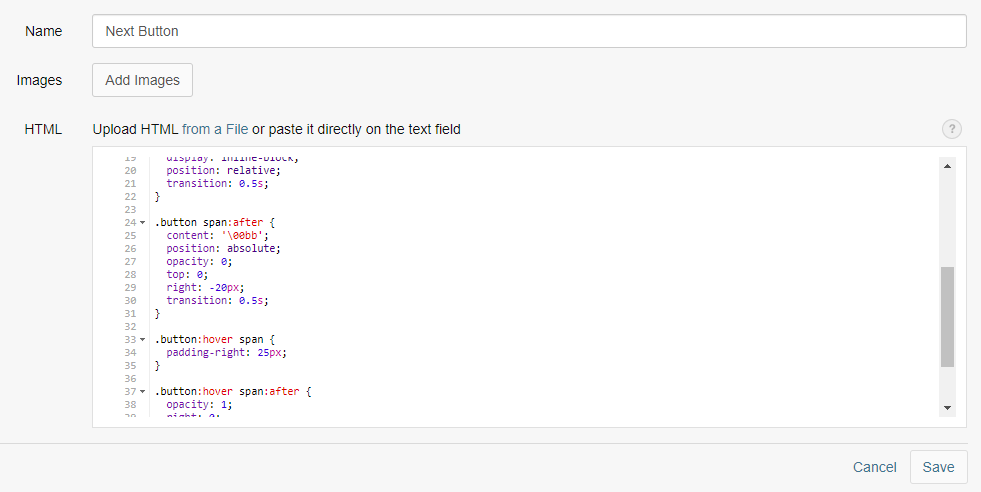
Choose a descriptive name (Next Button in the following example) and insert the HTML code - either from a file or by copying and pasting it into the text editor.
<style>
.button {
  border-radius: 4px;
  background-color: #f4511e;
  border: none;
  color: #FFFFFF;
  text-align: center;
  font-size: 28px;
  padding: 20px;
  width: 200px;
  transition: all 0.5s;
  cursor: pointer;
  margin: 5px;
}

.button span {
  cursor: pointer;
  display: inline-block;
  position: relative;
  transition: 0.5s;
}

.button span:after {
  content: '\00bb';
  position: absolute;
  opacity: 0;
  top: 0;
  right: -20px;
  transition: 0.5s;
}

.button:hover span {
  padding-right: 25px;
}

.button:hover span:after {
  opacity: 1;
  right: 0;
}
</style>


<button class="button" onclick='prisma.startFunnel.call(this)'>Go to campaign</button>
Note: HTML snippets allow using customer variables and those that are provided in the platform by default (like
{{customer.firstName}},{{customer.age}},{{campaign.link}},{{campaign.unsubscribe}},{{campaign.communication-preferences}},{{email.webview}}to name a few examples).
Before continuing, click on Save so that the changes take effect.
Adding the HTML Snippet to a Design
-
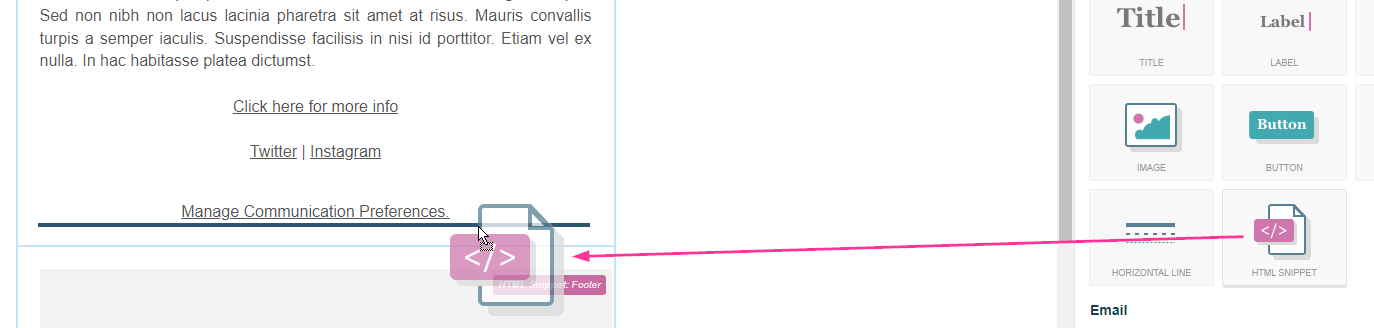
After creating an HTML snippet, you can add it to an email or page design. To do this, drag the HTML Snippet component from the Design Elements panel and drop it in the desired location.
-
Select the component and choose the HTML snippet you want to include. The following image shows the one created in the previous step (Next Button).
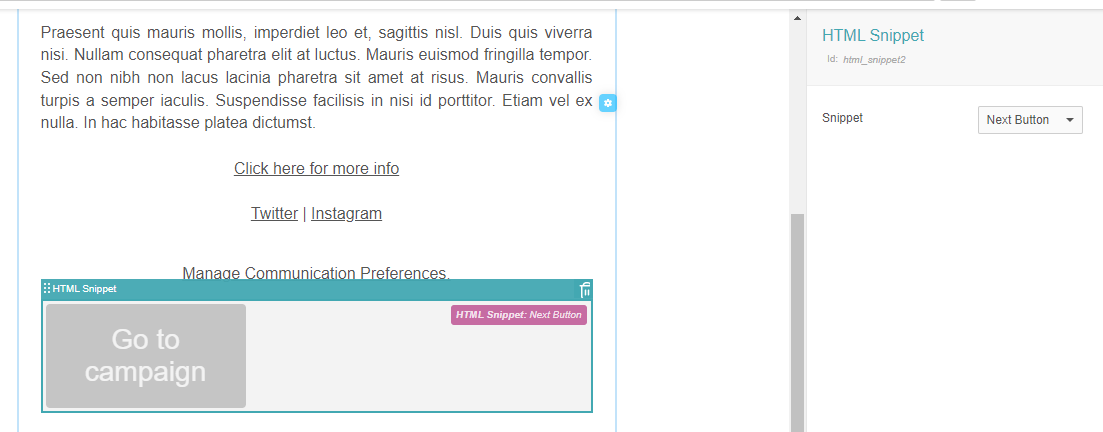
After updating the design, save and publish the changes to apply them to the campaign.
Reusing the HTML Snippet
Once you have created an HTML snippet, you can use it in any email or page design. This feature has the advantage that any subsequent modifications will only require updating the original block. The changes will automatically be reflected in all campaigns, creating a pending change on any campaign that uses them. Note that you will need to publish these changes to make them live.
On this page