Import Datasync Using Insomnia
Manually Importing Customers Through a Datasync Using Insomnia
The purpose of this operation is to manually import customers or certain customer data to Prisma using an API set up on Insomnia - which we are using as an example but the same process applies to other clients.
To accomplish this goal, it is necessary to use a file with the corresponding customer IDs or a column mapping that includes the fields that will be imported, respectively.
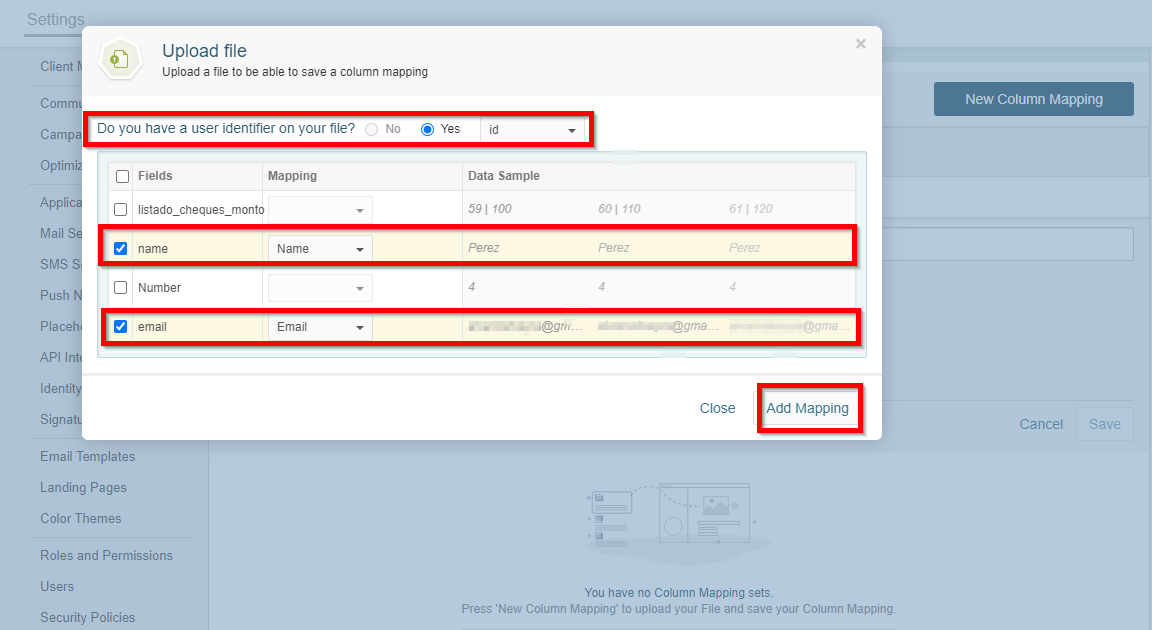
The first thing that needs to be done is to log in to Prisma, create a New Column Mapping and select upload a sample file to upload the mapping - this is done under Settings > Column Mappings > New Column Mapping, and map the fields in the sample file to the respective fields in the Data Model:
After the column mapping is created, the Import Datasync can be set up under Settings > Data Synchronization on Prisma:
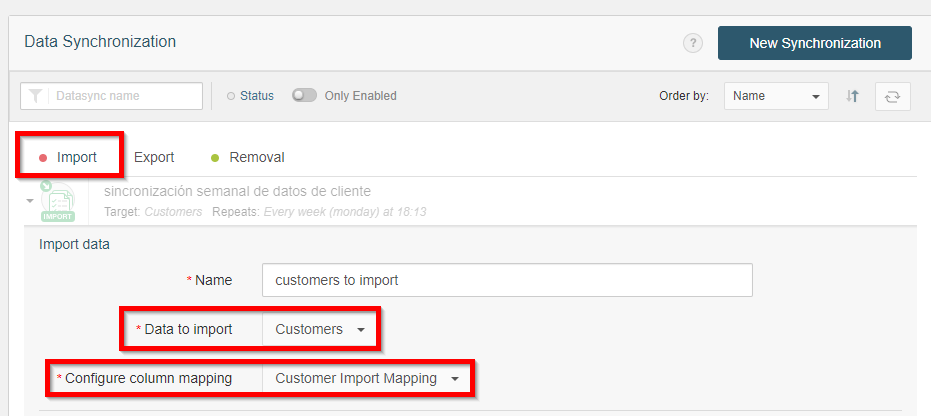
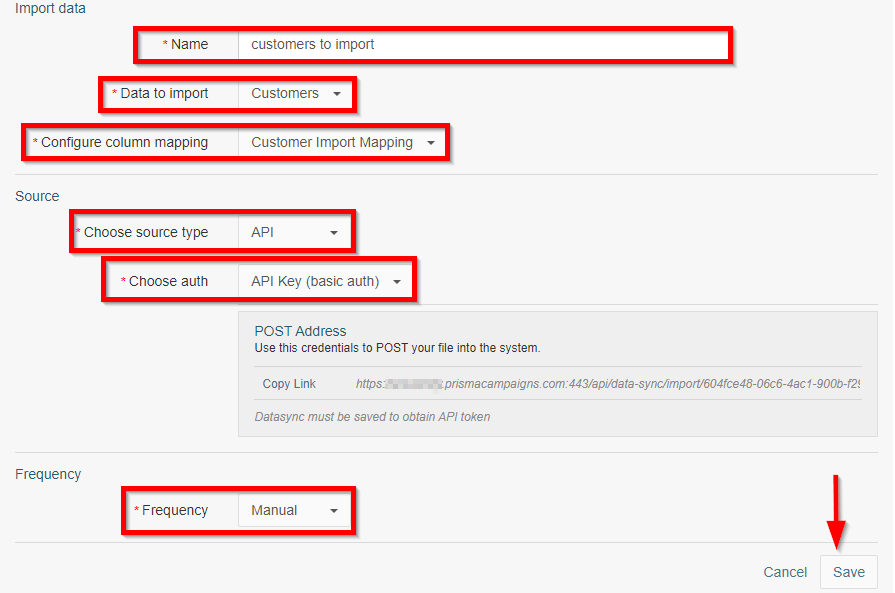
Setting up a data import operation requires a descriptive name, the type of data to import (in this case, customers), a field import mapping (previously set up), the source or destination (in this case: API), an Auth Key*, and a frequency (which in this case will be Manual, but can be one-time or recurrent, depending on the user’s needs.)
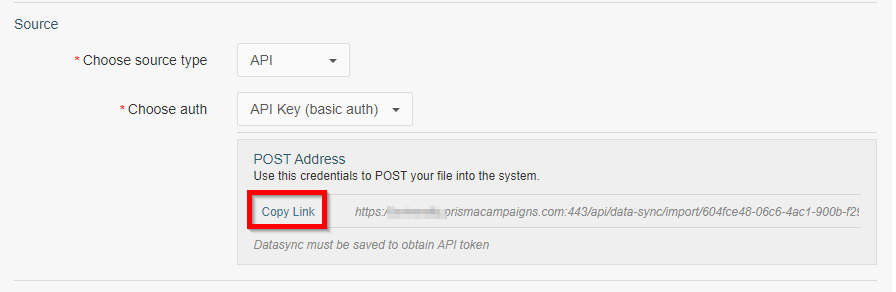
If an Authorization Key is desired for security reasons, the user will have to choose the option called API Key (Basic Auth) under Choose Auth, as follows:
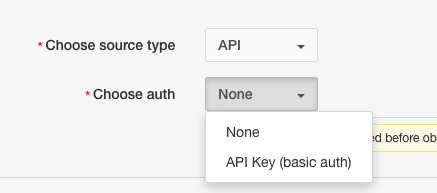
*This step may be skipped if the user decides not to use an Auth Key
Once the Data Sync has been set up as shown above, the user will have to download and install Insomnia and have the CSV file with the Customer IDs to be imported ready to be uploaded.
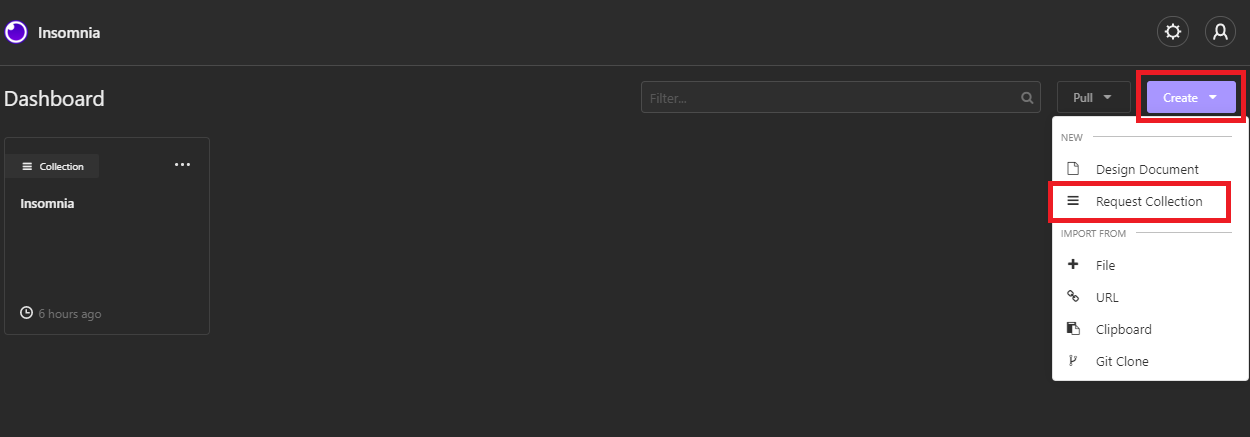
Once Insomnia is launched, the user needs to Create a Request Collection:
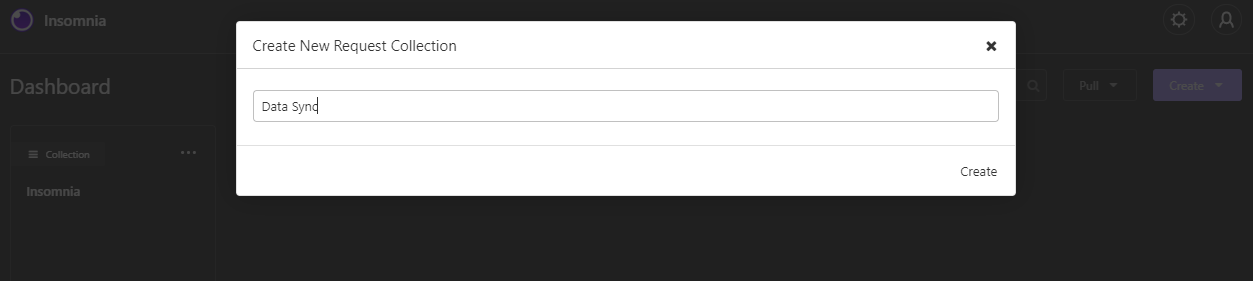
Call it Data Sync:
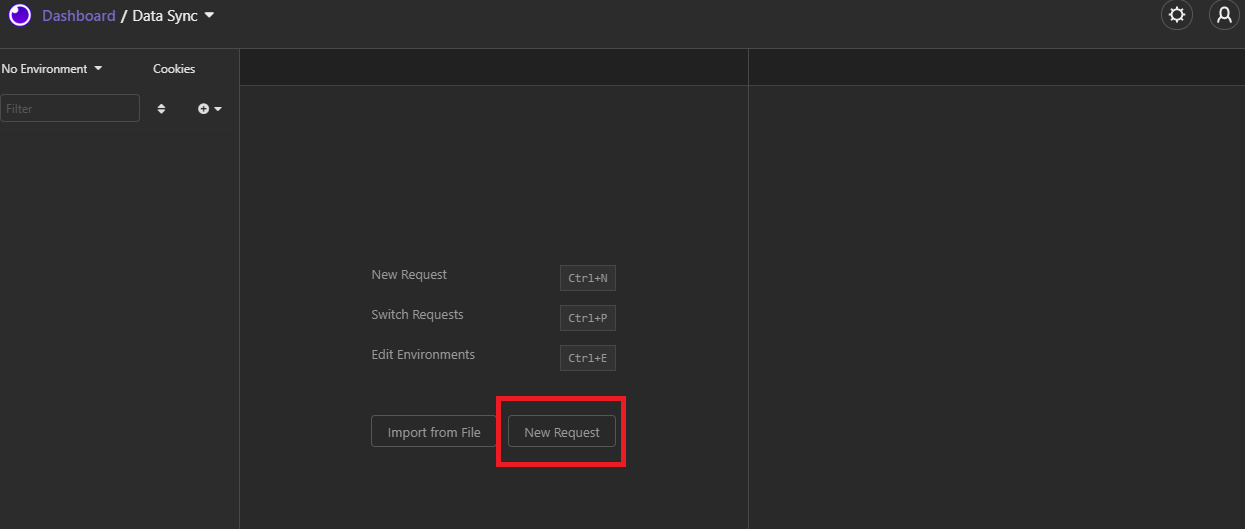
And after it is created, click on New Request:
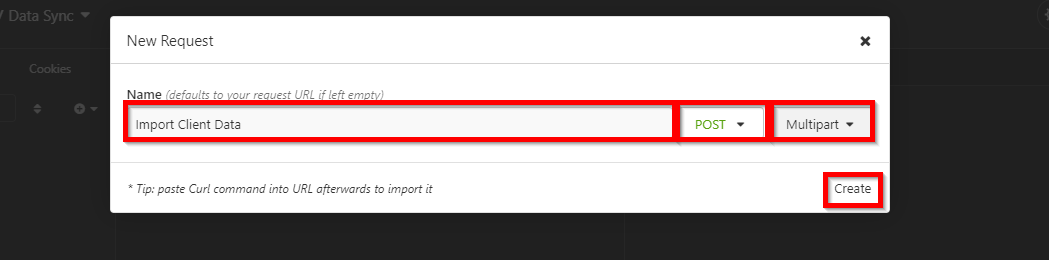
Name it (in this case it was named Import Client Data):
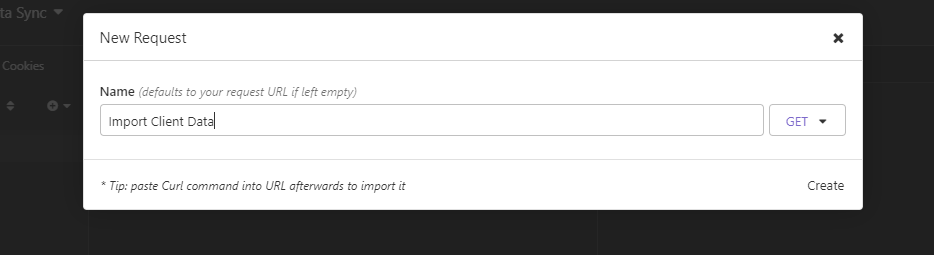
Click on the drop-down that says GET and select POST, choose Multipart in the second drop down that will show up, then click on Create:
The screen on Insomnia should then look as follows:
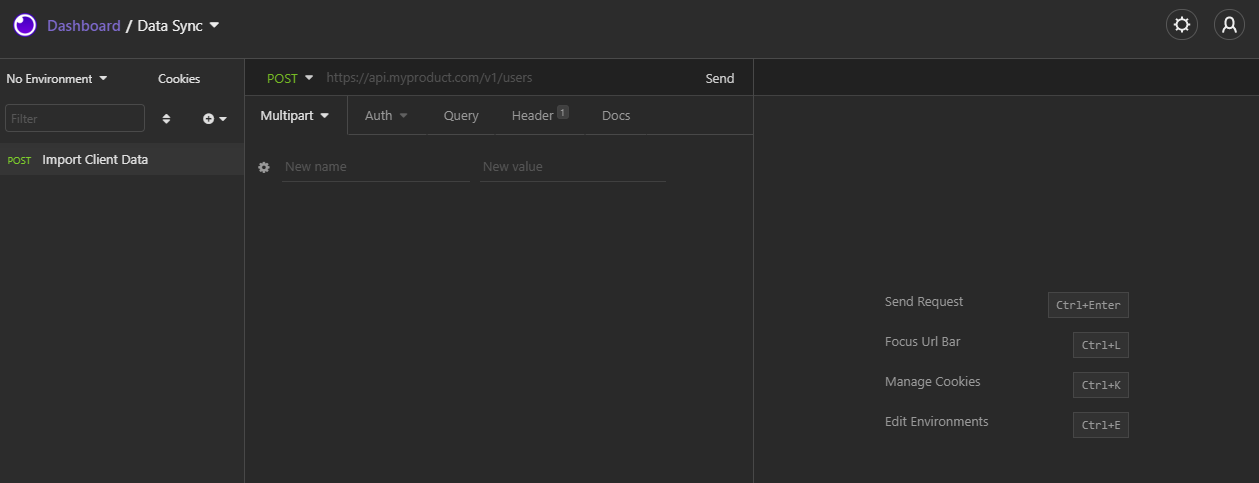
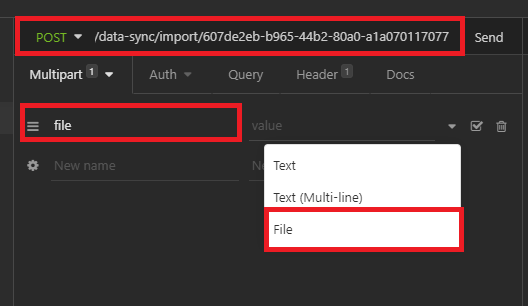
The next thing the user needs to do is to paste into the URL field (to the right of POST) the POST URL located in the Data Synchronization module on Prisma:
In order to enter the Auth Key provided by Prisma in the Data Synchronization module, the user will need to choose Auth, Basic Auth and enter api as the username and the auth key provided by Prisma as Password, as follows:
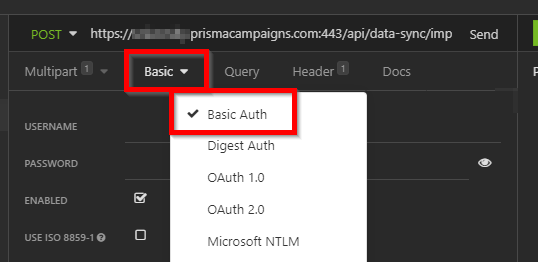
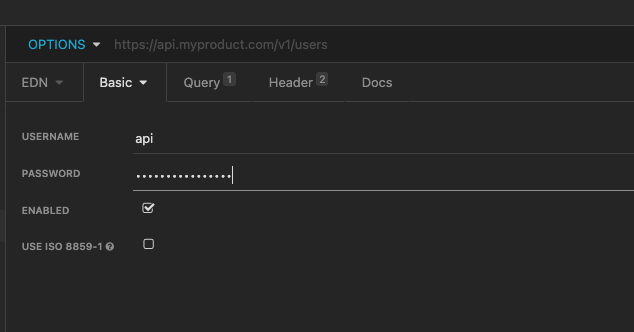
The previous step may be skipped if the user decides not to use an Auth Key
After the link is copied into Insomnia, the user needs to type “file” into the Name field in the app, and select the value File from the drop down to the right.
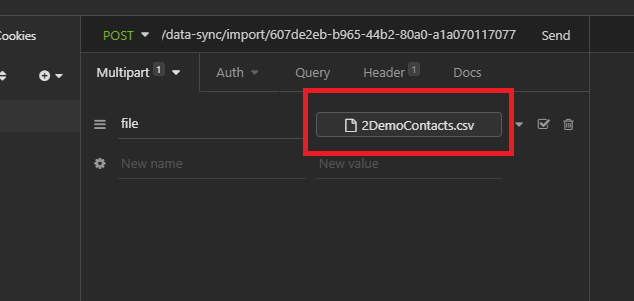
After the values are entered into the fields, click on Chose File and select the CSV file including the column mapping created on Prisma and the data to be imported:
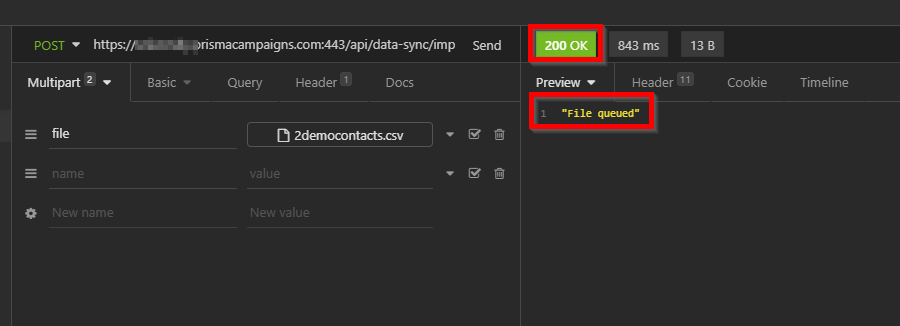
With the file copied, the user needs to click on Send:
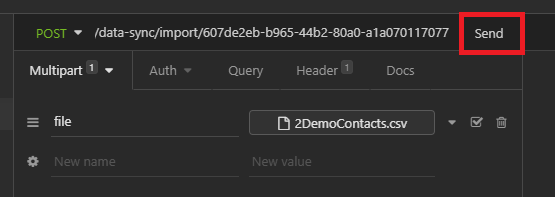
The application should show the two following responses:
-
Green message displaying status code ‘200 ok’
-
Message saying “File queued”, the expected server response, under the Preview module:
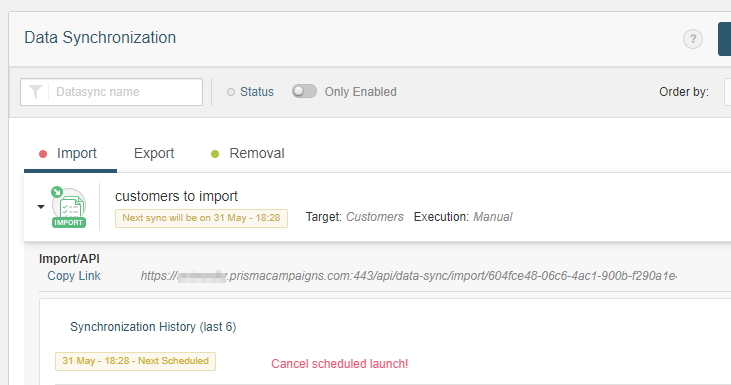
If we navigate to the Data Synchronization screen on Prisma, it will look as follows if there is a pending manual or scheduled process:
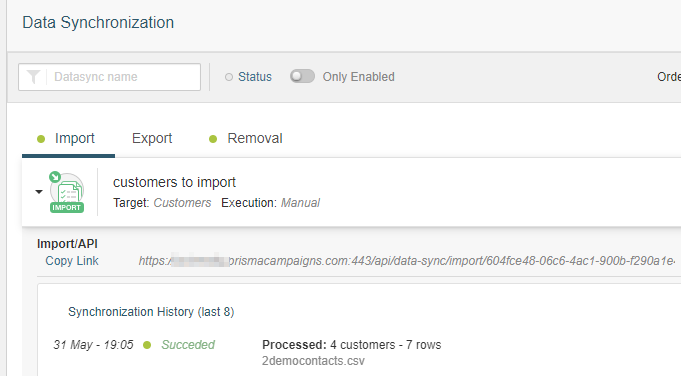
After the import process is complete, the history will display a Succeeded message in green next to the data synchronization process indicating the number of entries that were imported:
Related Articles
On this page