Export Datasync Using Insomnia
If you need to export customer or campaign data to an external destination, Prisma integrates seamlessly with all API testing and creation tools. This article explains how to perform this operation through an API set up on Insomnia, but the same process applies to any other API creation tools.
Exporting Customer or Campaign Data Through Insomnia Using a Datasync
First, create a new synchronization on Prisma under Settings/Data Synchronization:
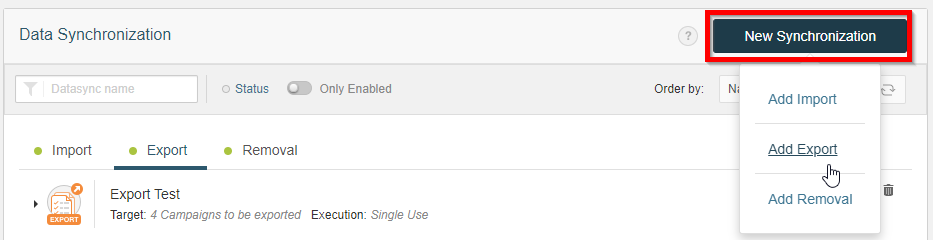
Second, set up a data export operation by entering a descriptive name, and selecting the type of data to export, the source or destination, and frequency (campaign results, API, and manual, respectively, in this case).
If the export type is campaign results, select the campaign(s) to extract data from Prisma.
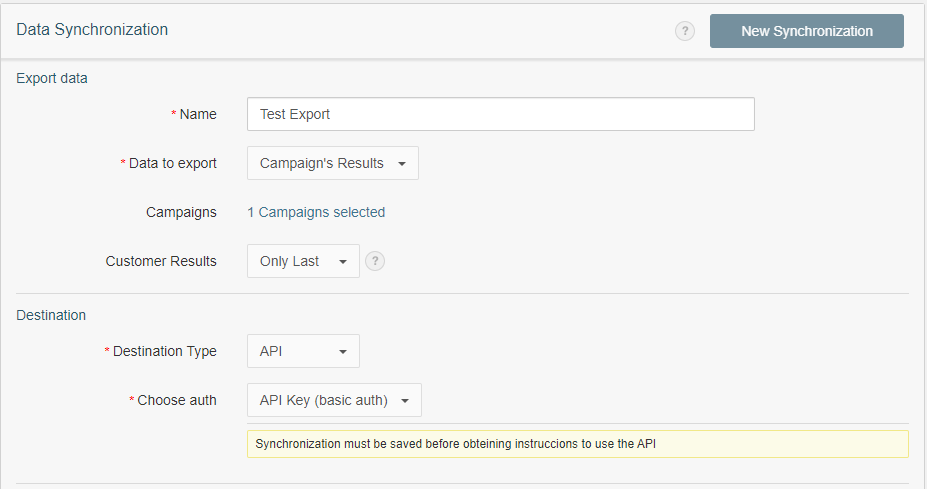
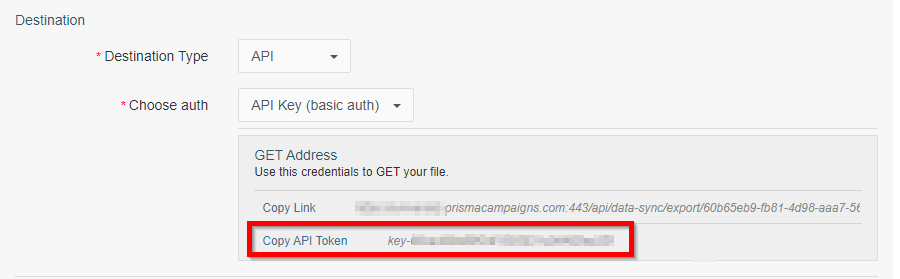
If you need an authorization key for security reasons, choose API Key (Basic Auth) under Choose Auth as follows:
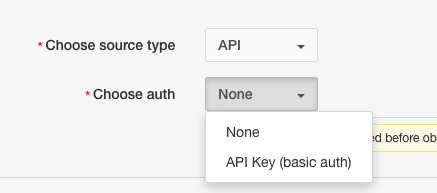
You can skip the previous step if you decide not to use an auth key.
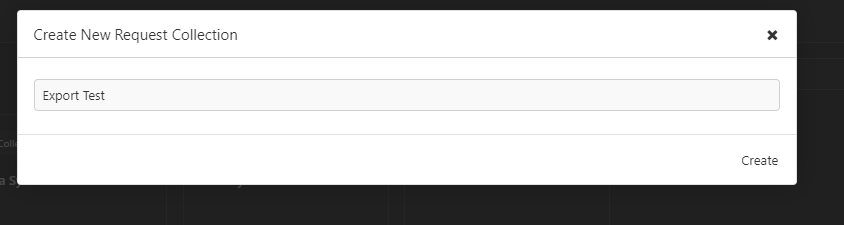
Third, launch Insomnia once the data sync has been set up as shown above. Next, create a Request Collection:
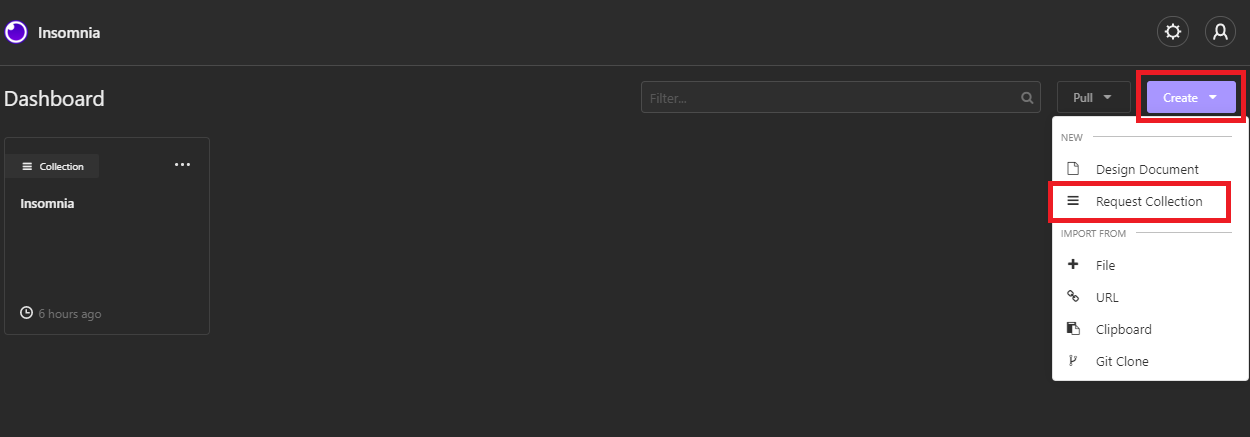
In this case it was named Export Test:
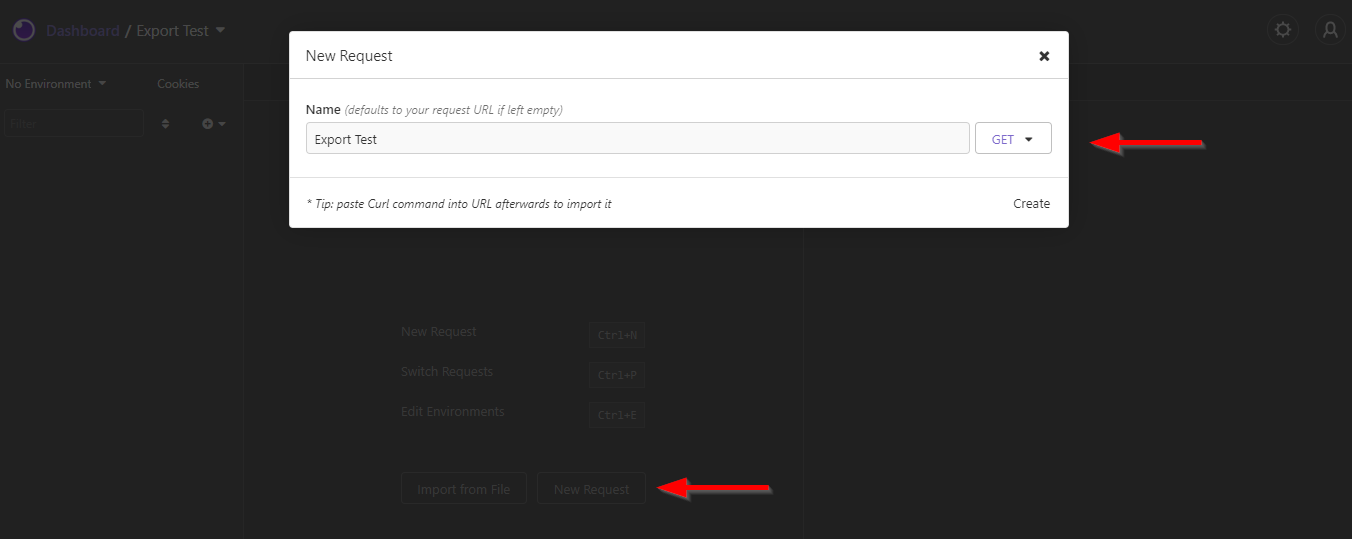
After creating a request collection, go to New Request, select GET from the dropdown, name the request and then click Create:
The screen on Insomnia should then look as follows:
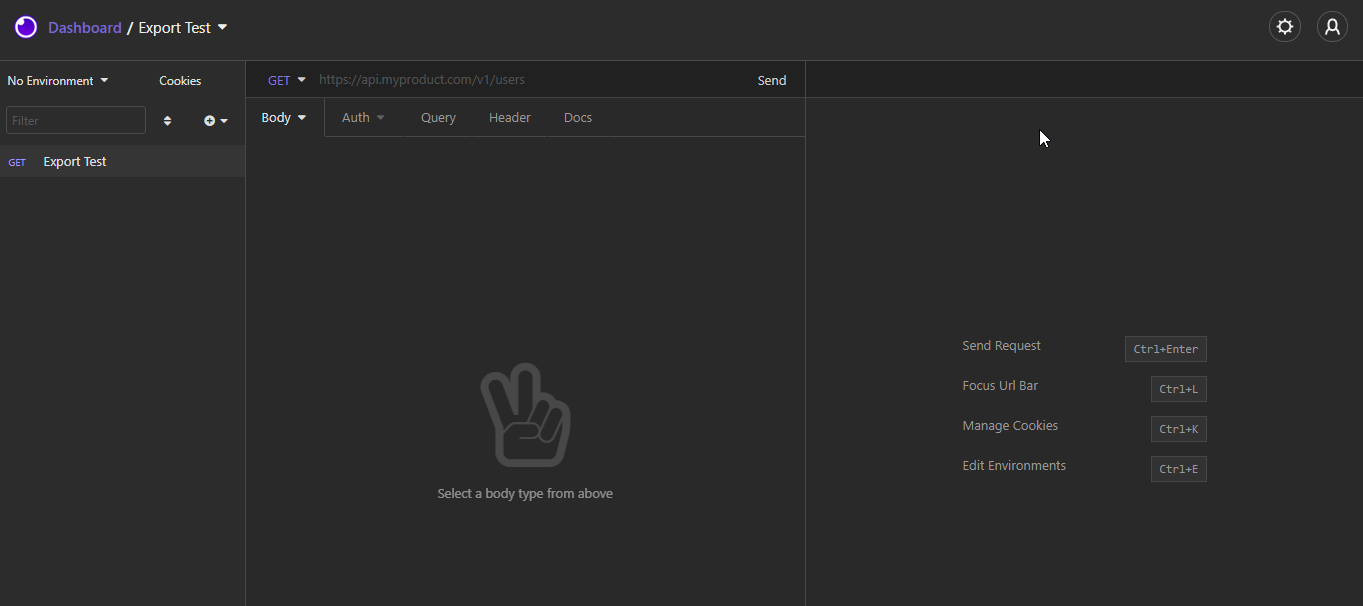
Fourth, copy the GET address from Prisma and paste it into the Insomnia address bar (next to GET in the above screenshot):

Next, choose Auth, Basic Auth and enter api and the key Prisma provided as username and password, respectively:
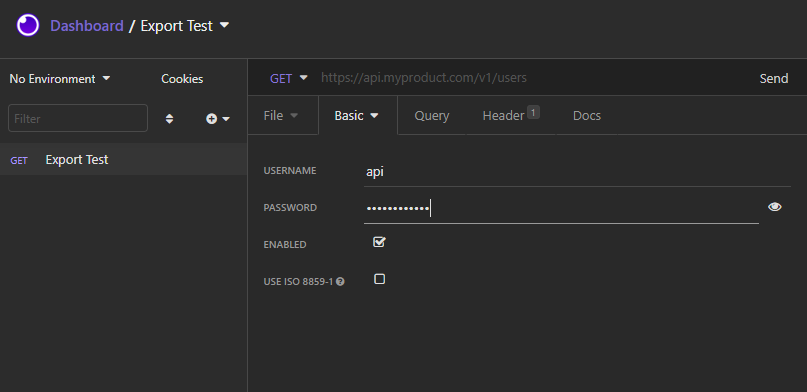
You can skip the previous step if you decide not to use an auth key.
After Insomnia is configured to receive the export, you can validate if the data sync is available in Prisma by checking the time in which it will be ready for export:

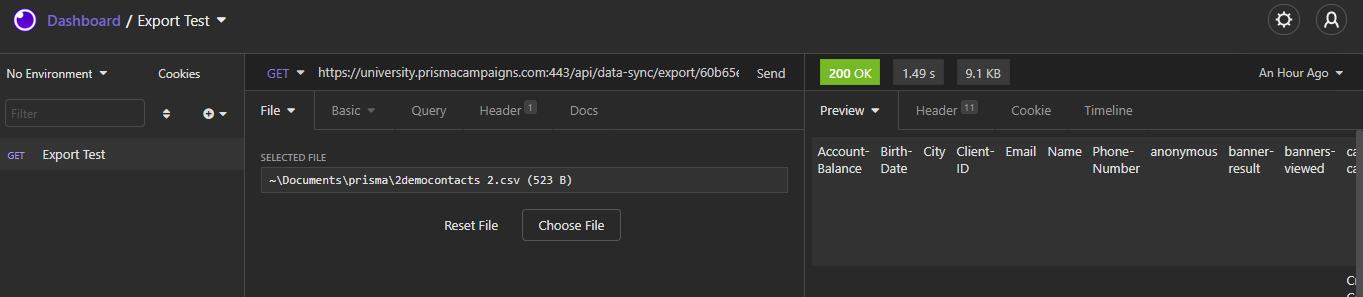
Once the export is ready in Prisma, click the Send button in Insomnia to retrieve it. The application should show two responses as shown below:
-
Green message displaying status code 200 OK
-
Preliminary export data showing under the Preview tab
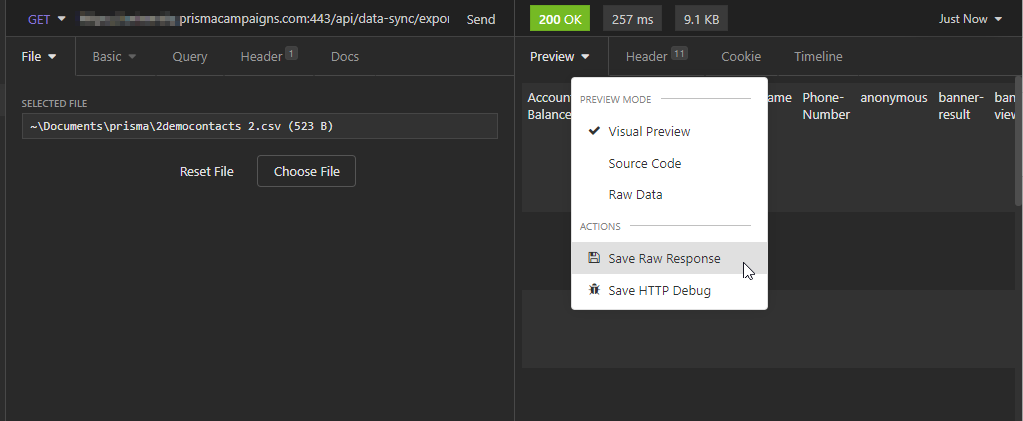
Finally, you can then save the export as a file by clicking on Preview/Save Raw Response:
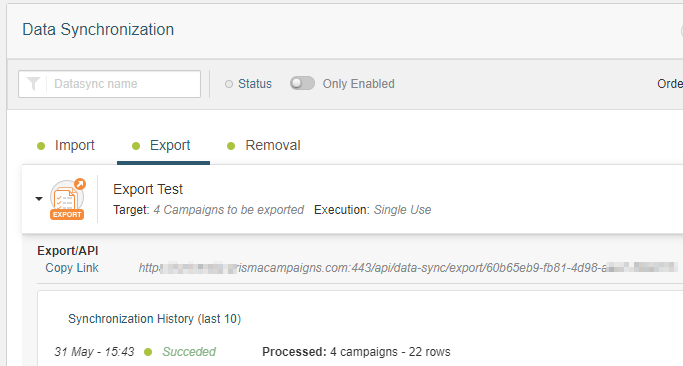
After the export process is complete, you will see Succeeded in green next to the data synchronization process, along with the number of campaigns and rows that were exported.
Related Articles
On this page