DocuSign Integration
In case you need to manage the signing of legal documents online for your marketing campaigns, Prisma Campaigns can integrate with DocuSign with all the advantages that both platforms offer. This article describes the steps to carry out this integration for a test and production environments. In both cases, you should follow the same steps. The only difference resides in the values of the parameters as explained below.
Registering and Generating Keys
To perform the integration it is necessary to generate the keys in DocuSign and then register them in Prisma Campaigns following the steps below:
-
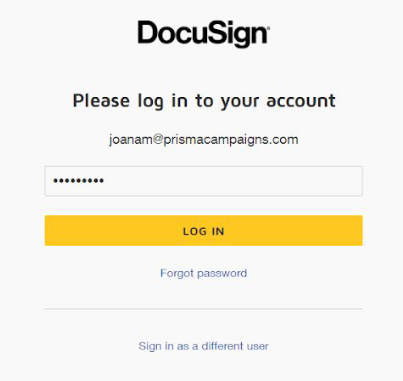
Access your DocuSign account using the corresponding credentials:
-
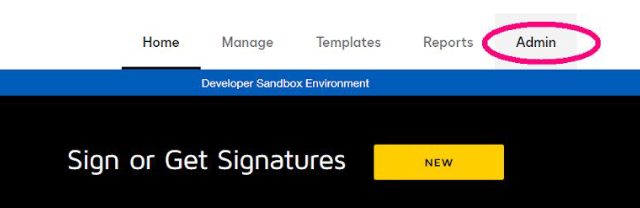
Go to the Admin section in the top navigation bar:
-
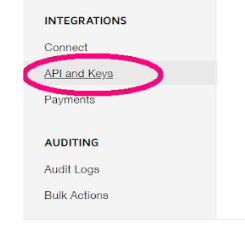
In the left sidebar, click on API and Keys under INTEGRATIONS:
-
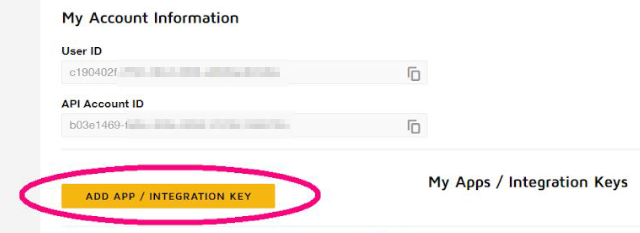
For security reasons, you may be asked to enter your DocuSign username and password again at this point. In any event, you must press the ADD APP / INTEGRATION KEY button in My Apps / Integration Keys. For DocuSign, an app consists of a set of parameters that are used to identify a specific integration with its REST API.
-
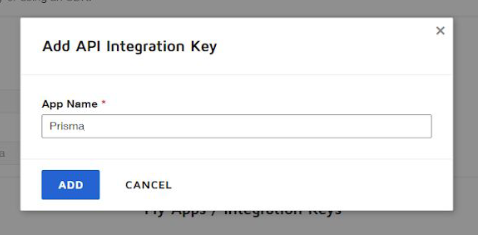
Type the name of the application and click ADD. The following image uses Prisma as an example:
-
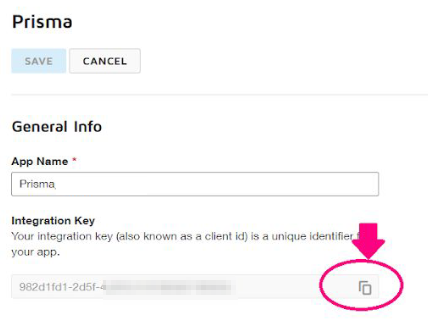
Copy the integration key. This piece of information is the unique identifier for the application in question. You will need it in a later step to configure Prisma Campaigns.
-
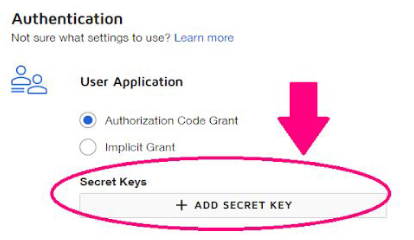
In the Authentication section, generate a secret key and save it:
-
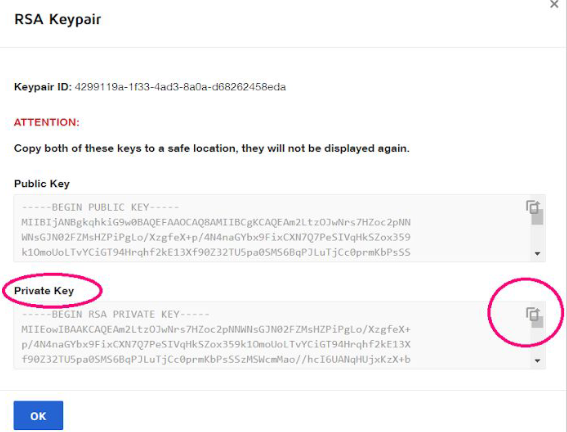
Create the RSA private key by clicking on ADD RSA KEYPAIR in the same section as the previous step:
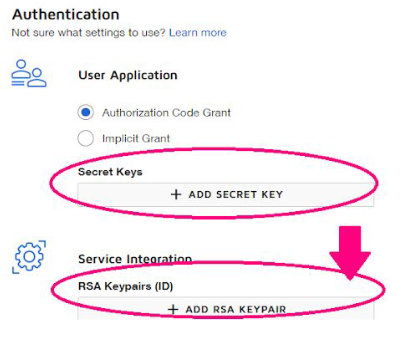
It is important to note that the private key is only shown once, so you must copy and save it as the previous data to enter it later in Prisma Campaigns.
-
Add the public domain of your Prisma Campaigns instance in Redirect URIs under Additional settings and append /api/settings/signature-providers/docusign/consent to it:
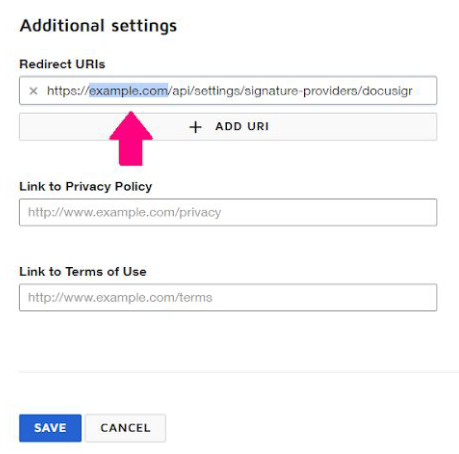
You can find out your Prisma Campaigns public domain from Settings –> Company Preferences –> Public Web Endpoint –> Domain.
-
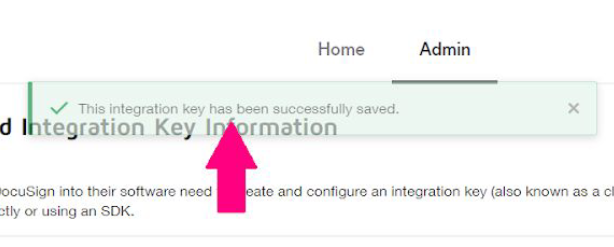
Click the SAVE button to save the changes. At this point, you should see the following confirmation message if the operation was completed successfully: This integration key has been successfully saved.
Integration with Prisma Campaigns
Below are the steps to follow to enter the generated keys and complete the integration:
-
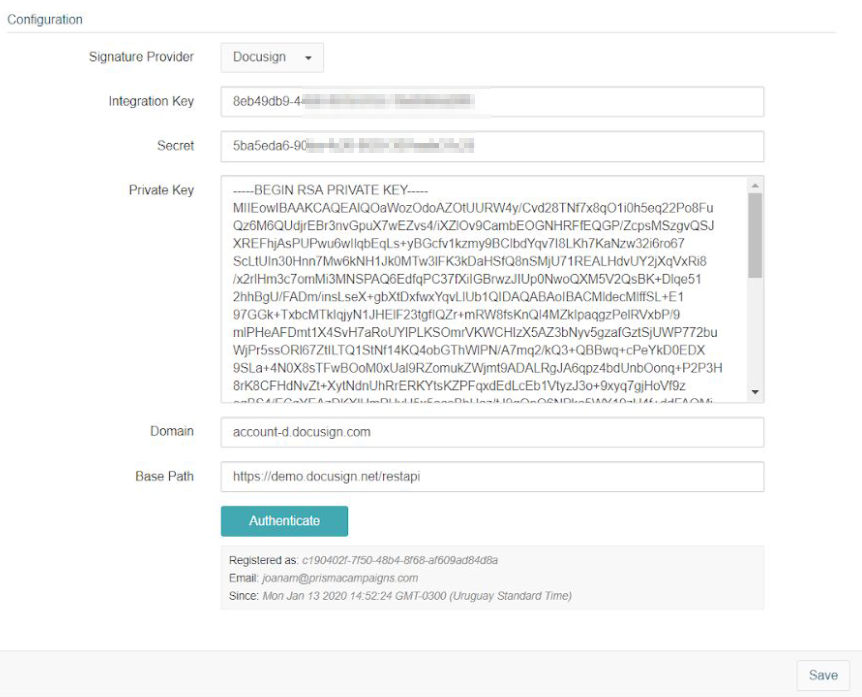
Copy the keys in Settings –> Signature Providers according to the following scheme after selecting DocuSign as the provider:
DocuSign Prisma Campaigns Integration Key Integration Key Secret Key Secret RSA Keypair (Private Key) Private Key The result should be similar to the following:
-
You should complete Domain and Base Path according to the type of DocuSign account you are using. The table below details the correct content of these fields. Also, you will find the key generation method that corresponds to each case.
Parameter Testing Production Integration Key As explained in this document Same value as for the testing environment Secret Key As explained in this document Requires a separate key for this account RSA Keypair As explained in this document Requires a separate key for this account Domain https://account-d.docusign.com/ https://account.docusign.com/ Base Path https://demo.docusign.net/restapi https://base-path.docusign.net/restapi where base-path varies based on your DocuSign account -
Press Save to save the changes and then Authenticate to log into DocuSign with administrative permissions. After accepting the confirmation dialog, you will have completed the integration.
Related Articles
On this page