Configuring Mailgun as Email Service Provider
If you need to communicate with your customers via email, Prisma Campaigns can use either a regular SMTP server, Mailgun or SendGrid as delivery channel to send campaign communications via email. To setup the latter, follow these steps:
-
Create a new Mailgun account if you do not already have one. It is important to clarify that free accounts cannot use a custom domain.
-
Login to your Mailgun dashboard and click Add New Domain. Note that this will require updating your DNS records to verify that you are an authorized sender for this domain. Also, Mailgun recommends using subdomains (such as mail.banconacional.com) to avoid interfering with your company’s corporate email):
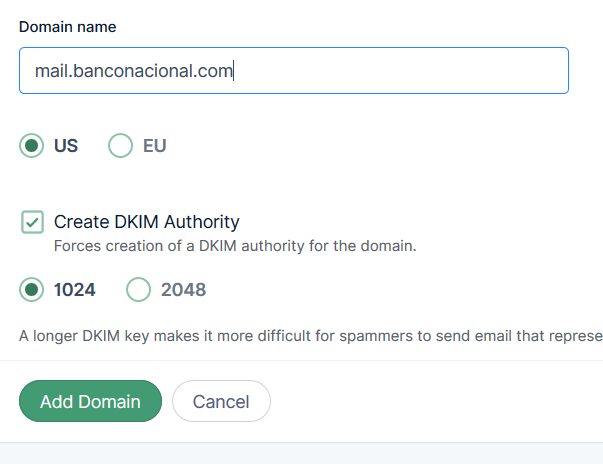
If in doubt as to whether using a domain or a subdomain, please refer to How Do I Pick a Domain Name for My Mailgun Account? in the Mailgun documentation.
-
Click Add Domain. You will be redirected to a page where you will see the exact records that you need to add with your DNS provider. Once completed, you will have to wait 24-48 hours for the changes to propagate. Mailgun will email you to let you know once your domain is verified.
-
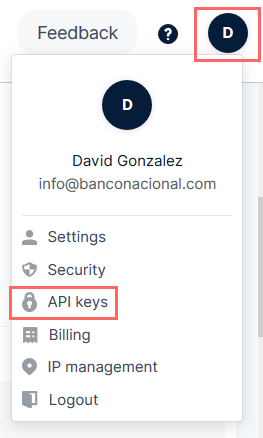
Go to your account settings (upper right corner) and click API keys:
-
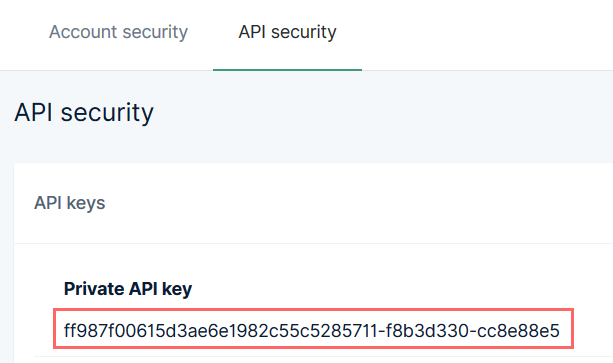
Copy your private API key:
-
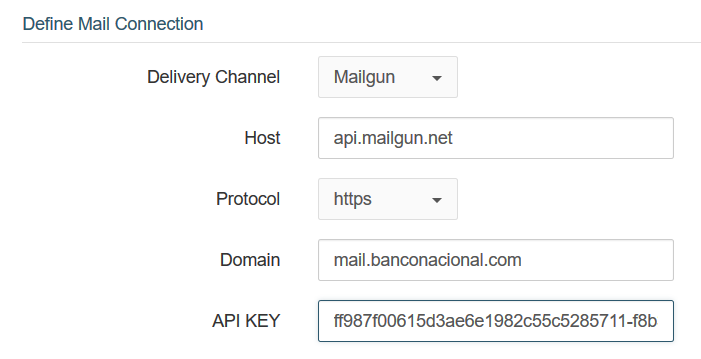
In Prisma Campaigns, go to Settings/Email Setup and define your email connection as follows. Enter the API key you copied in the previous step:
-
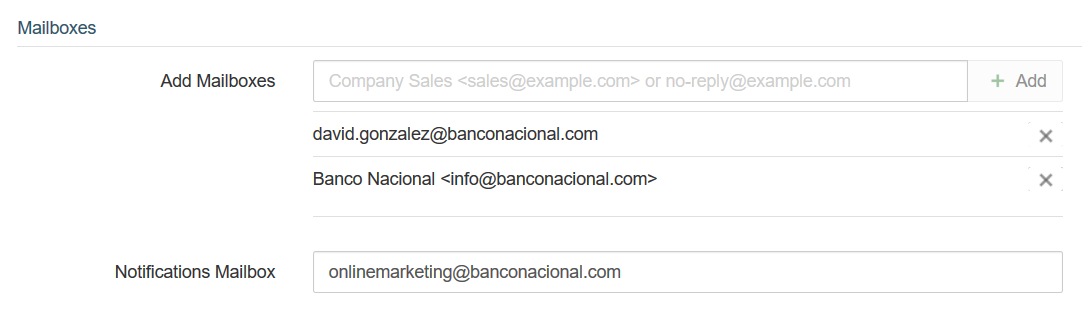
Add as many source mailboxes as needed and another one for notifications. You can create more than one and use different mailboxes for separate campaigns. The image below shows two source mailboxes (david.gonzalez@banconacional.com and info@banconacional.com) and onlinemarketing@banconacional.com as the notification mailbox.
-
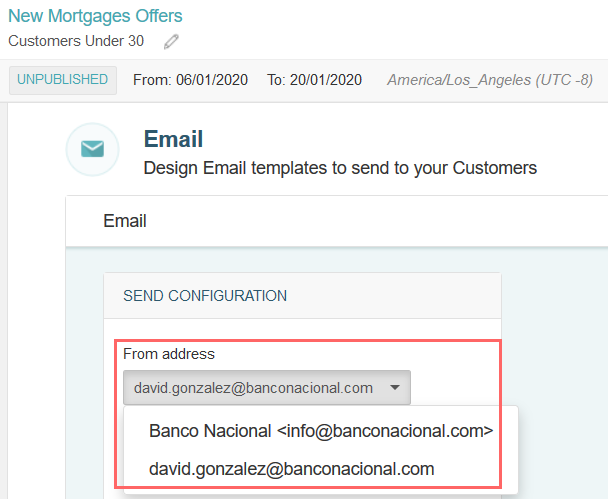
In a campaign that uses email, choose one of the source mailboxes as the From address and save the configuration to apply the changes:
-
Click Save to apply the changes.