Send Different Campaigns in Time
Sometimes you want your customers to engage in a process or a campaign sequence after a given condition occurs. To accomplish this objective, use a powerful automation feature called Campaign Flows.
Create a Campaign Flow for the Target Segment
To begin, create a new campaign and add a new flow to it by following these steps:
-
Go to Campaigns and click New Campaign
-
Select Campaign Flows
-
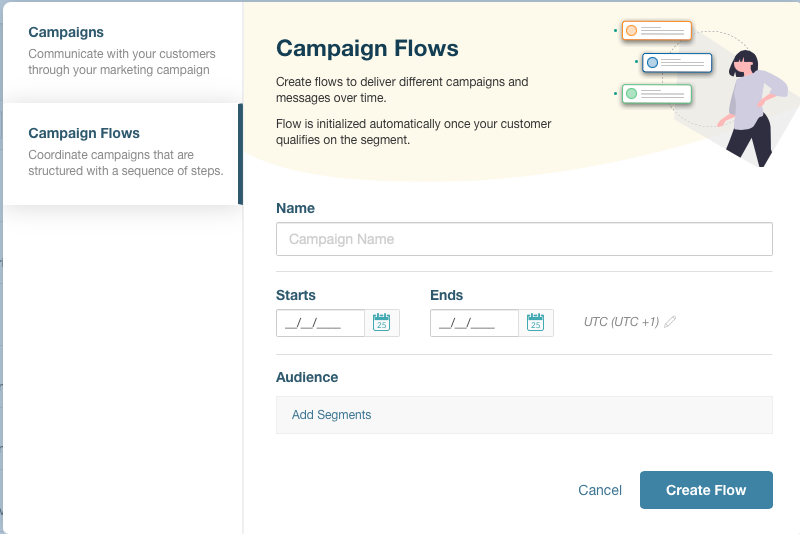
Choose a descriptive name for the flow and enter the start date, end date, and target segment
The process in question will automatically start as soon as the campaign is published. This operation impacts all matching members or customers in the segment.
Add the Campaign Sequence to the Flow
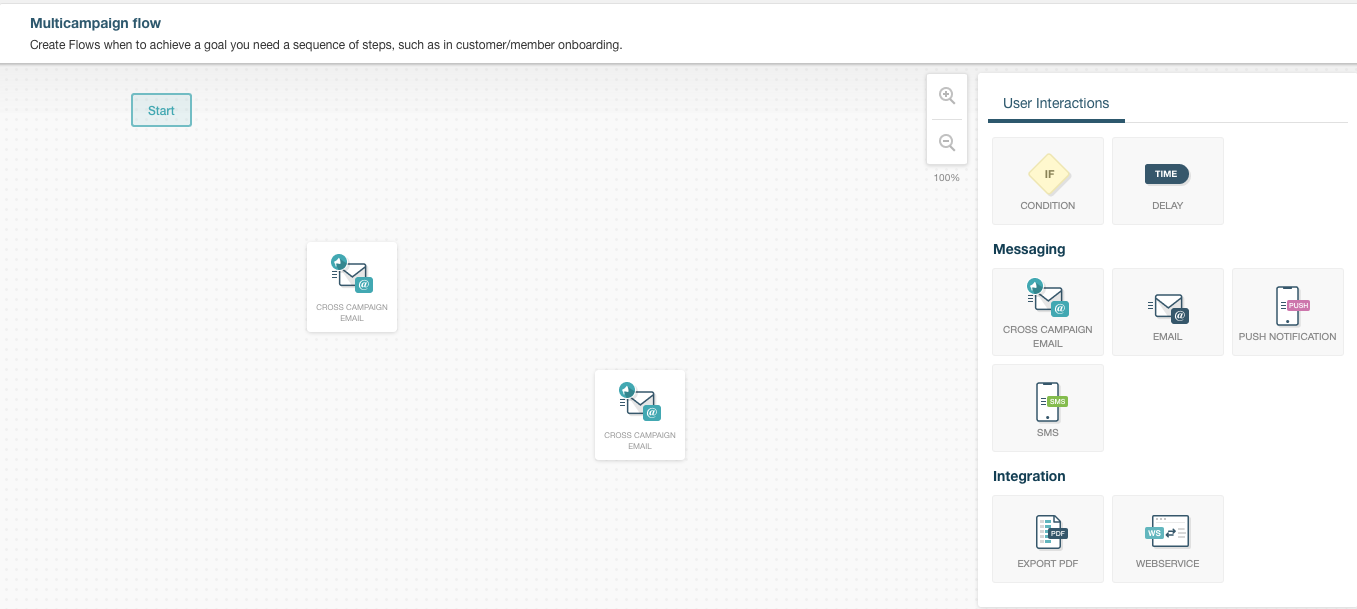
Once the flow is ready, set up the process with the relevant campaigns:
-
Insert the Cross Campaign Email action to the flow for as many campaigns as needed:
-
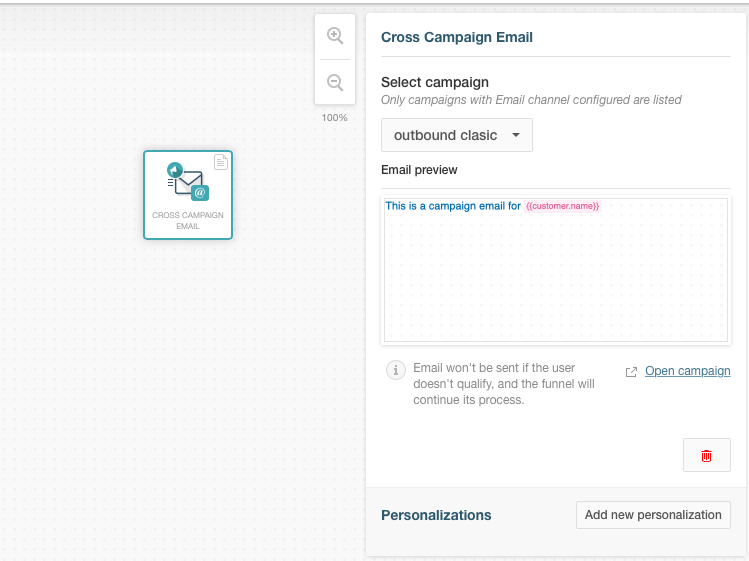
Click each step and select a published campaign. Those with pending changes will show up as NOT READY and will be available for selection but skipped during the flow execution if used.
-
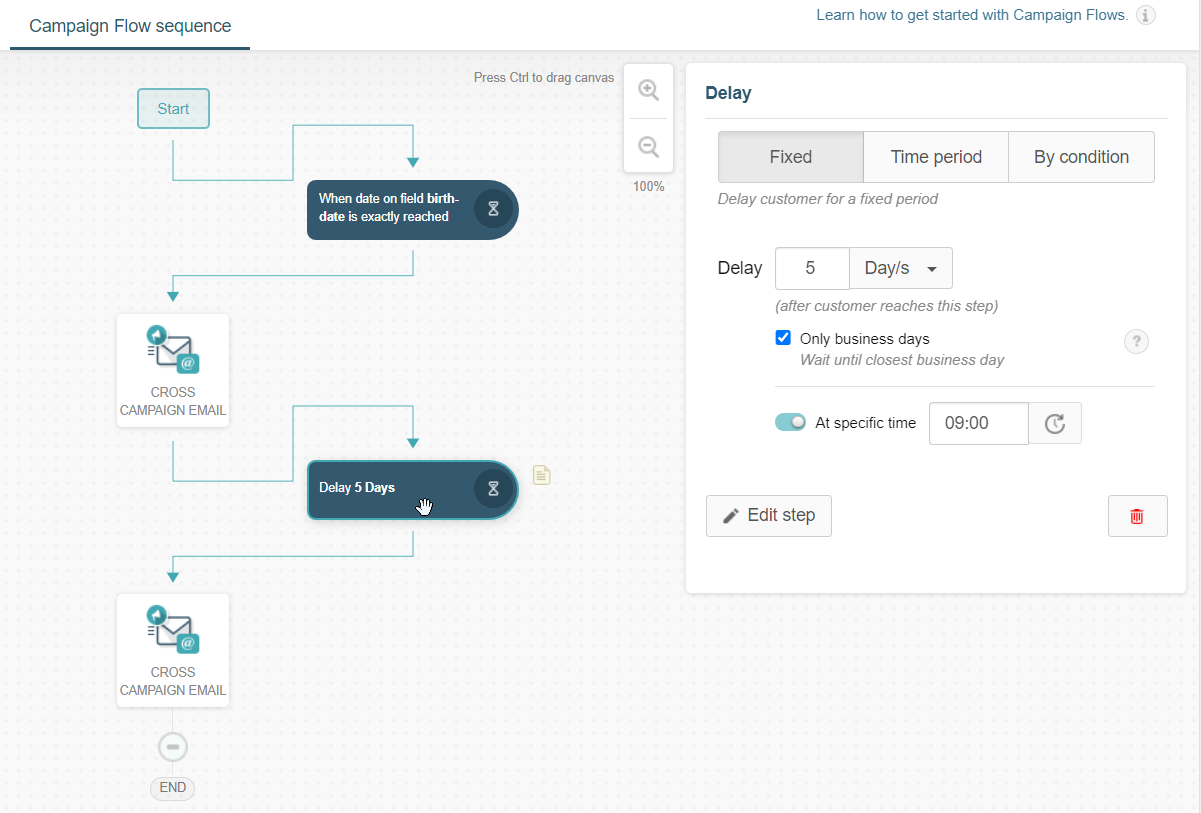
Using the Delay action, build a sequence of campaigns with the desired delay type in the middle. You can choose between Fixed (hours or days), Time period (first day of next week or month or last day or week of the month), and By condition (when a field is equal to a given value, i.e. a specific date or even the customer’s birthday).
-
Publish the campaign to trigger the process for each member in the segment.
Additionally, you may select to trigger actions only on business days and select a specific time for them to happen. Thus, you can ensure your campaigns are delivered during business hours and avoid sending them over the weekend or during a holiday. This feature gives you more flexibility and control over your campaigns to deliver the right message at the most appropriate time.
Related Articles
On this page