Creating Popups
Prisma Campaigns provides two methods to display popups to your customers (using banners or automatic popups). In this tutorial, we will explain both possibilities and detail the steps to follow to get them up and running. As a result, you will be able to determine which option best meets the needs of a given campaign based on their characteristics and differences (and when to use one or the other).
It is worth noting that both methods stop the customer from browsing the site. Thus, you can set limits on their display through contact policies to avoid causing negative reactions in the user experience.
Pop-ups From a Banner
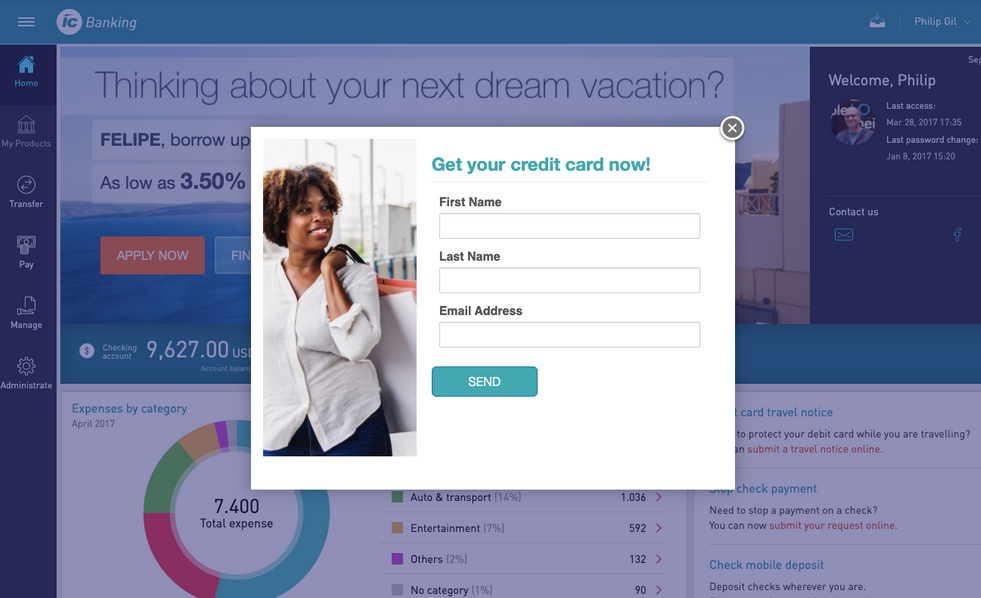
If you want to invite a customer to start the conversion funnel or to simply call his or her attention through an informative message, pop-ups from a banner represent the right solution. It is important to note that this case by itself will only generate a banner view. It still requires an action on the person’s part to navigate into the funnel.
As for its use, the banner in question will work just like a regular one, supporting both images and HTML code:

To use this option, you will need to follow the steps below:
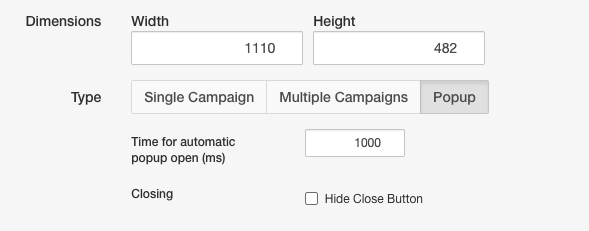
1. Set up a popup placeholder and integrate it on a page as explained in the Placeholders section of the Prisma Campaigns manual. The following image shows a placeholder of 1110 x 482 pixels that will show the popup window one second (1000 milliseconds) after the banner has been displayed.
2. Enable the Banners channel within the Leads section in the campaign of interest.
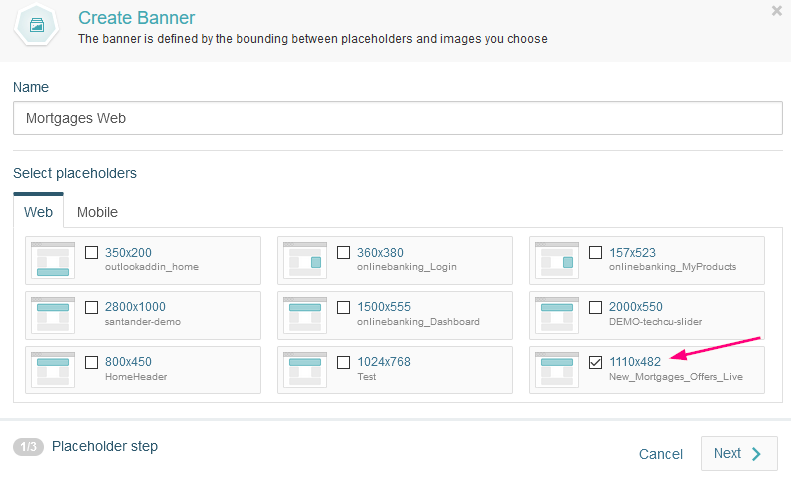
3. Create a new banner associated with the placeholder from step 1:
4. Add the content. In the step illustrated below, we used an image, although it is also possible to insert HTML code:
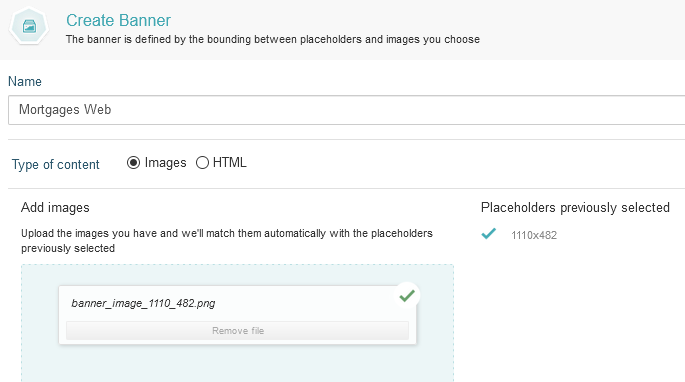
If the banner consists only of an image, the link to the funnel is added automatically. If it includes HTML code, the link must be added manually in the href attribute of an element such as
onclick='prisma.startFunnel.call(this)'.
5. Confirm by clicking on the Create Banner button:

Once these steps are completed, if you want the customer to continue interacting with your campaign, consider adding steps in the funnel. However, this suggestion is not strictly necessary for the creation of the pop-up itself.
Finally, remember to save the changes and publish the campaign.
Automatic Popups
Unlike the previous case, automatic popups are triggered by the customer’s navigation, generate a lead, and start the funnel directly. In other words, it is only necessary to decide on which page the popups should appear and add it to the configuration. To display an automatic popup, you can use any page where the Prisma Campaigns integrations is present. This alternative is appropriate if you want the customer to enter data or become involved with an offer in a way that is not possible through a simple informational message.
The following instructions will allow you to add an automatic popup:
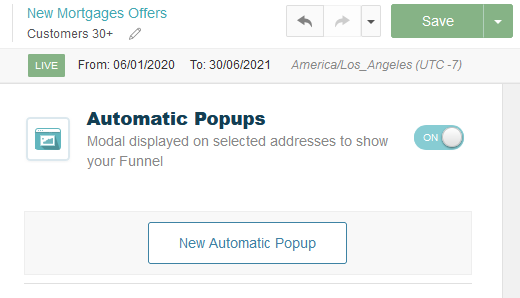
1. Enable the Automatic Popups channel within the Leads section in the campaign of interest. Next, click on New Automatic Popup:
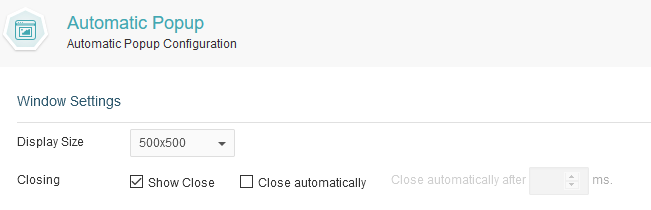
2. Choose a size and indicate whether the popup should include a close icon or whether it should finish automatically after a given time:
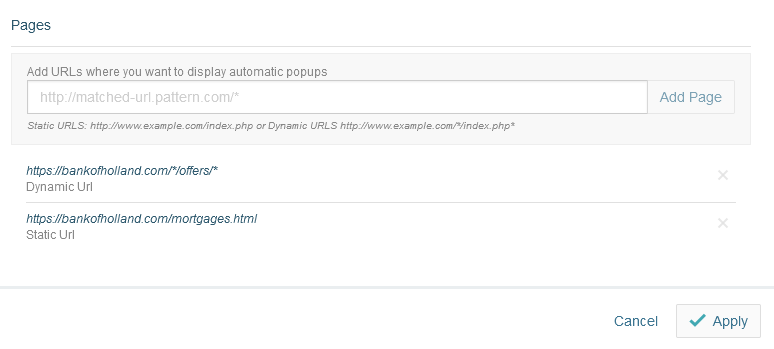
3. Enter one or more URLs where you want to display the popup and press the Add Page button to add them to the list. It is important to note that static URLs or URLs containing wildcards are supported (https://bankofholland.com/mortgages.html and https://bankofholland.com/*/offers/* to name two examples, respectively). Once you are done, click Apply to save the changes:
Remember that to deploy the funnel step correctly, you must have the plugin configured on your landing page. The changes will take effect after saving and publishing the campaign.
Related Articles
On this page