
Larky (Push Notifications)
If your mobile banking app already sends push notifications through Larky, a third-party push platform your institution may already use, Prisma Campaigns can trigger those same notifications directly from a campaign — as an alternative to configuring push through Prisma’s own Firebase/Apple certificates.
Setting up Larky
-
From Larky (or from your Prisma Campaigns representative, if Larky was provisioned on your behalf), obtain:
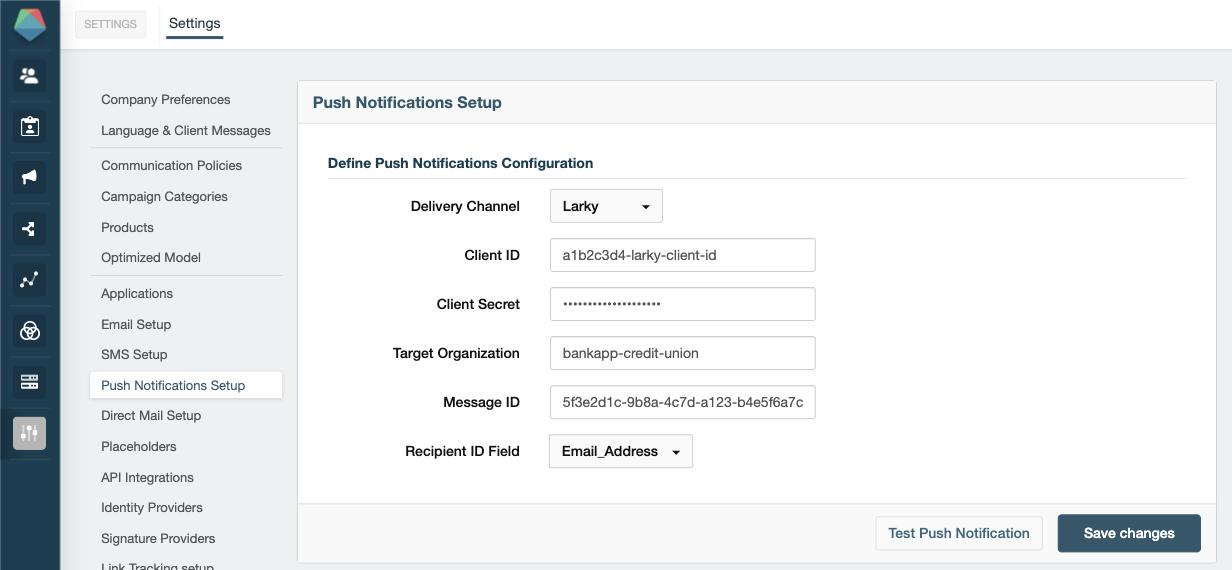
- Client ID and Client Secret for Larky’s OAuth2 API.
- Target Organization: the routing token or client ID Larky uses to identify your institution.
- Message ID: the Nudge/campaign UUID Larky uses as the default template for pushes sent from Prisma.
-
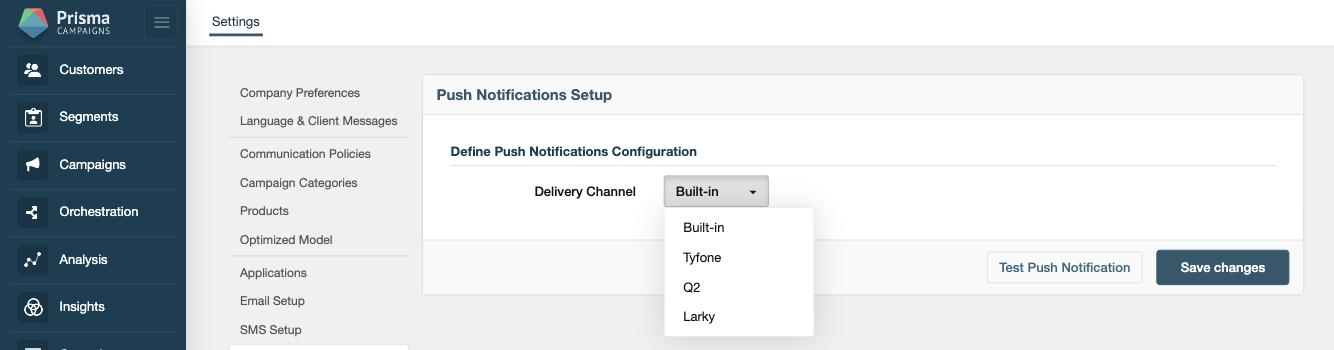
In Prisma Campaigns, go to Settings → Push Notifications Setup and choose Larky as the Delivery Channel:
-
Enter the Client ID, Client Secret, Target Organization, and Message ID you obtained from Larky. Under Recipient ID Field, choose the customer field that holds the identifier Larky expects for the recipient (for example, the field with the customer’s email address or member number):
-
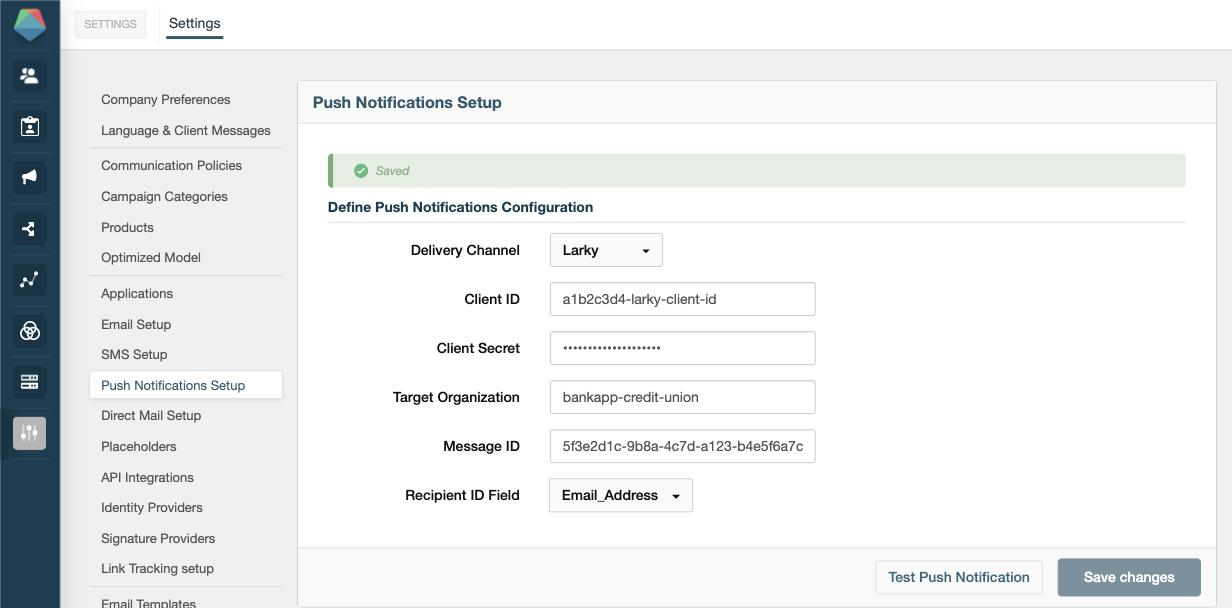
Click Save changes.
Testing the Configuration
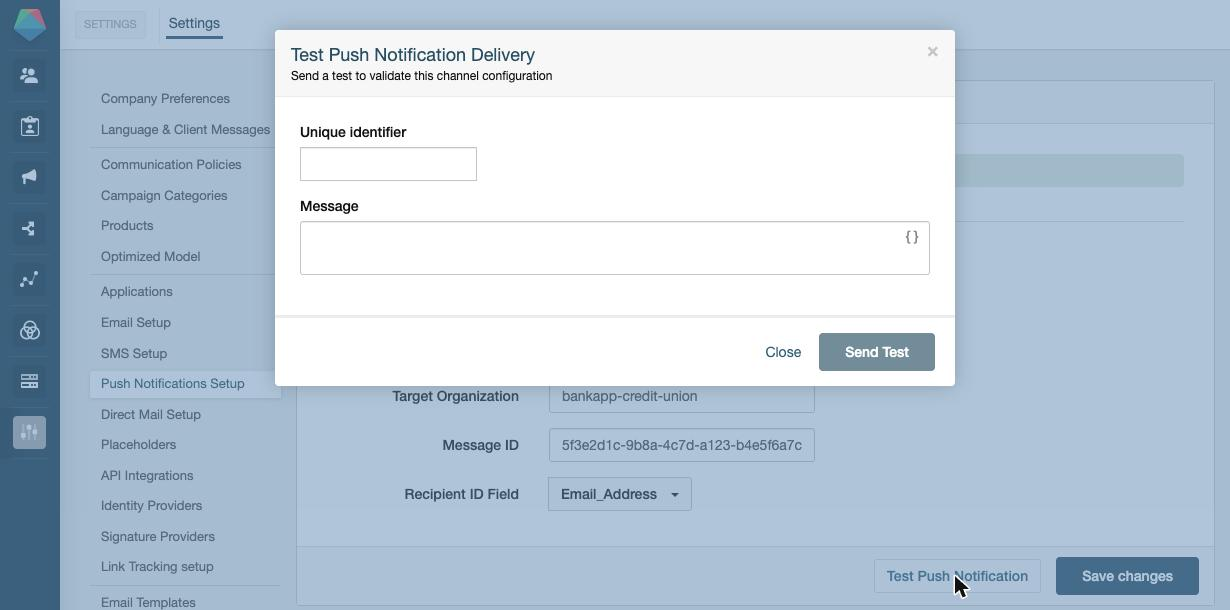
Click Test Push Notification to send a one-off push through Larky without waiting for a campaign to run. Enter a Unique identifier matching a real value of the Recipient ID Field you configured above (so Larky can resolve it to a device), and a Message, then click Send Test:
Besides Larky, Prisma Campaigns also supports Tyfone and Q2 as push notification delivery channels, alongside the built-in Firebase/Apple certificate setup.
Once saved, you can start using this channel to contact your customers. Go to Adding Push Notifications in a Campaign for further instructions.
 Related Articles
Was this article helpful?
On this page